This blog will guide you on how to install FVDI2 software V1.7 and how to use the software to read DTCs.
Part1: Installation
O.S: Windows XP (SP2 or later) Professional Version, Windows 7 Ultimate and Windows 8 Professional
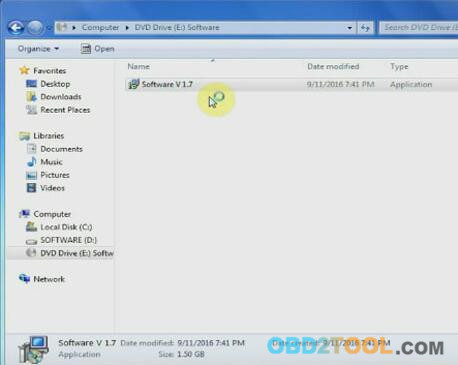
Insert CD and open software V1.7
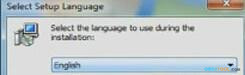
Select language English and click [OK]
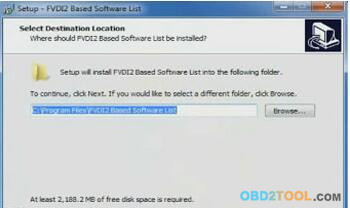
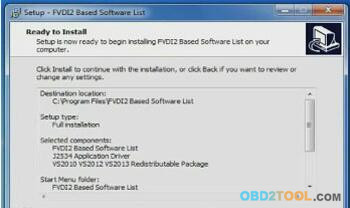
Click Next and Install
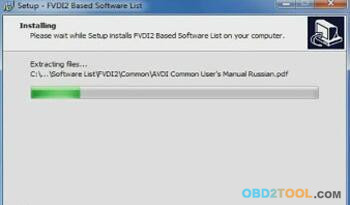
Installing, wait for a while…
At the end of the installation, it will pop out the interface of selecting setup language, click [OK] to continue

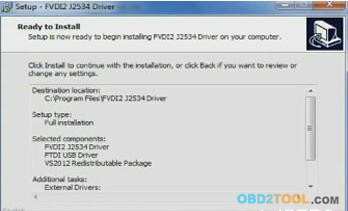
Then setup FVDI2 J2534 Driver, click [Next] and [install] to setup

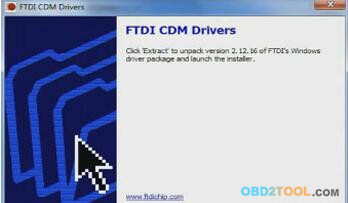
Setup FTDI CDM Driver, click [Extract]
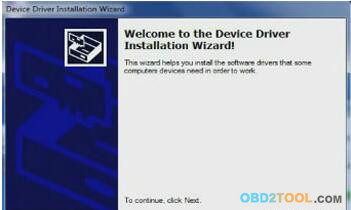
Click [Next]
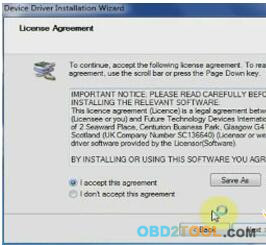
Select [I accept this agreement] and click [Next]
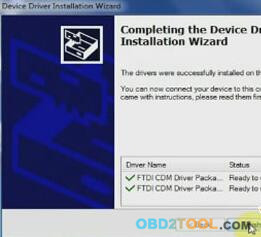
Successfully setup the driver, click on [Finish]
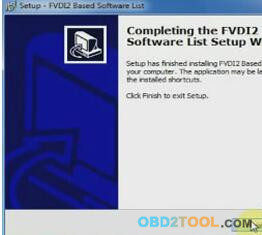
Completing FVDI2 V1.7 software setup, click on [Finish]
Part2: Diagnosis
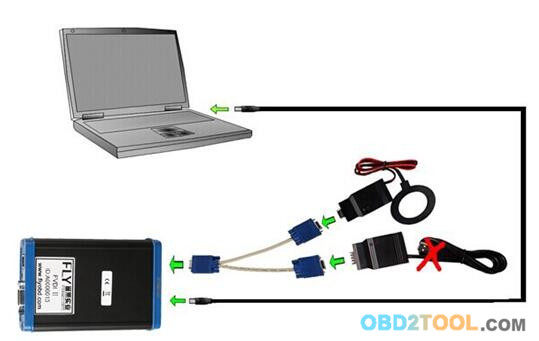
First of all, connect FVDI 2 with laptop. Picture shown as follow:
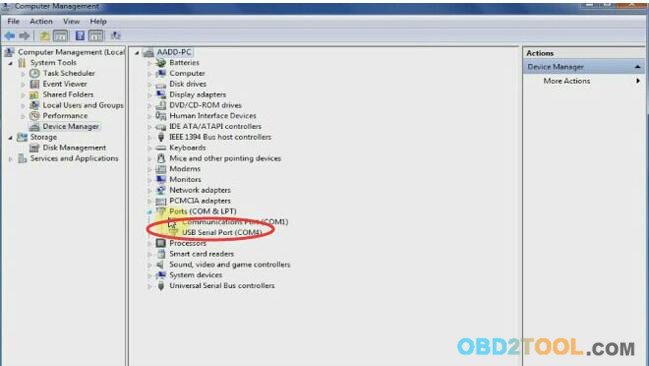
Right click Computer-> Manage->Device Manager->Ports(COMS&LPT)
The USB Serial Port is COM4
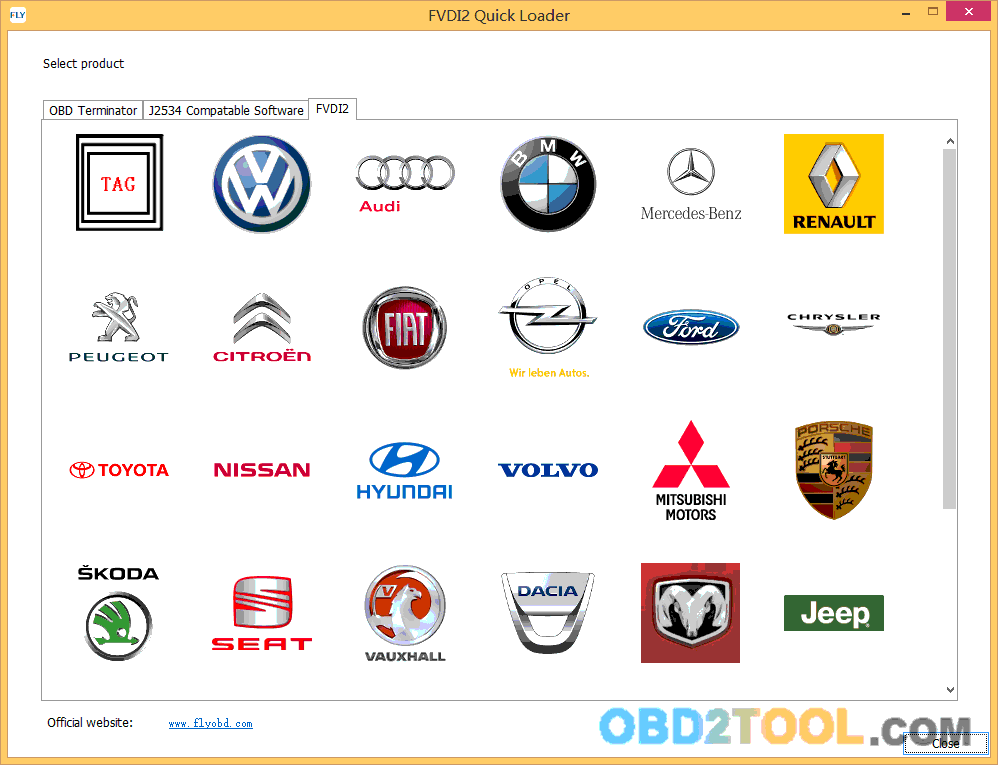
Then open [FVDI2 Based Software] on the desktop
Select [FVDI2] on the top menu, click VW icon and wait…
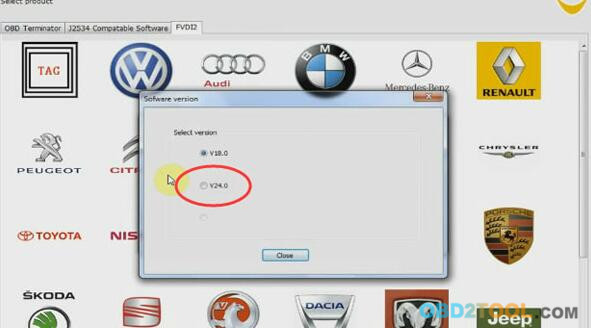
Select version V24.0 and click on [close]
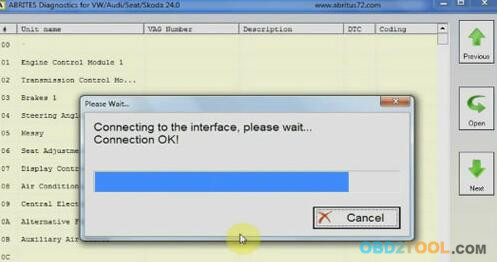
Wait for a while, it is connecting to the interface
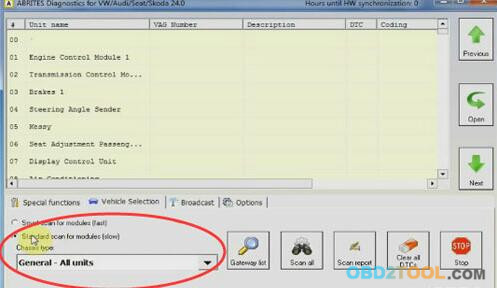
Click on vehicle selection
Select Standard scan for modules and you can choose vehicle types now
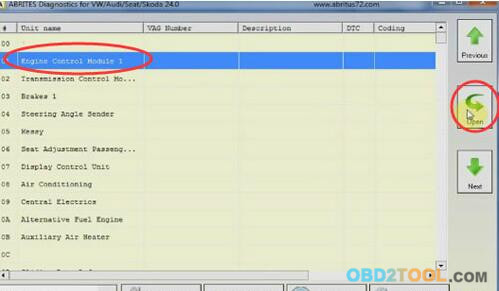
Engine Control module-> open
Read DTCs
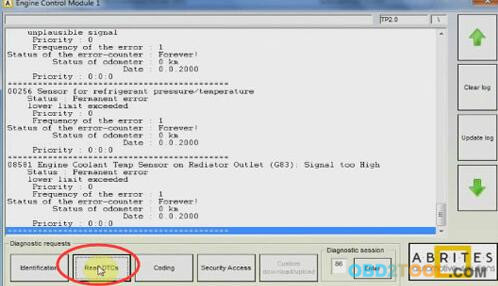
Done!