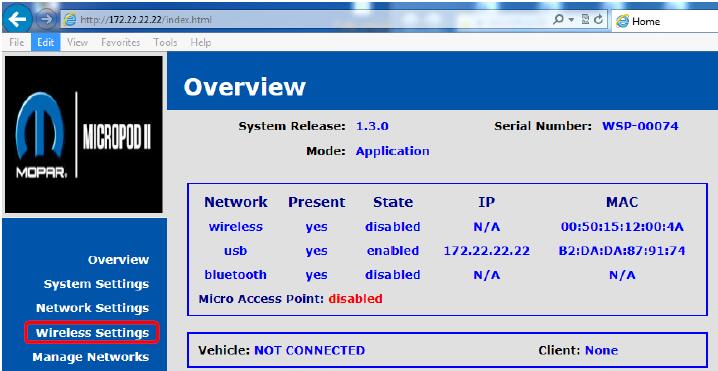
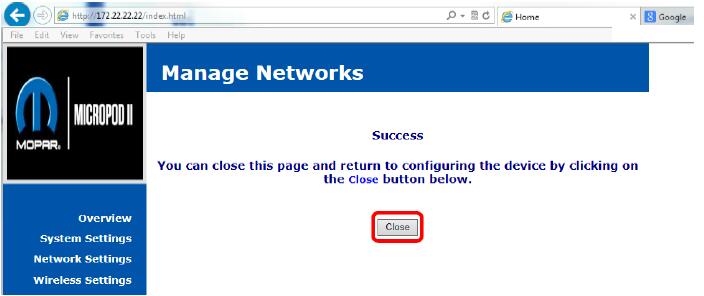
1. On a PC with the wiTECH Application installed, connect the Micropod II with a USB cable and enter
IP “172.22.22.22” into the address bar of an Internet browser.
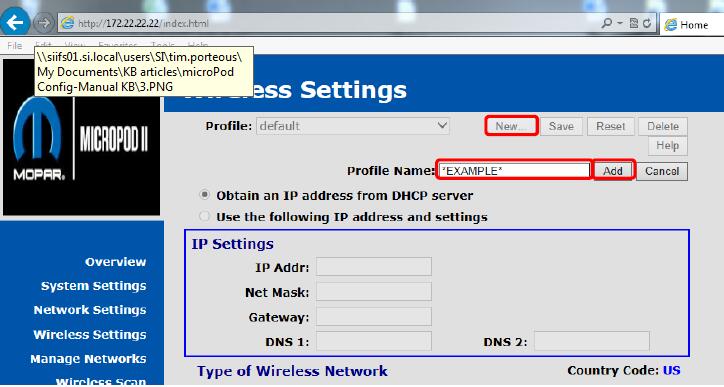
2. Select Wireless Settings in the menu on the left
3. Select New and enter the name of your profile that you are creating and select Add
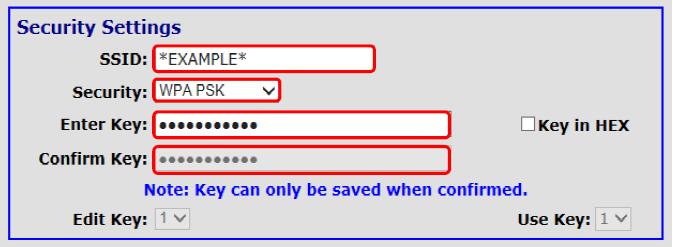
4. In the Security Settings field enter the Automotive Scan Tool wiTECH Access Gateway wireless profile credentials
* SSID,
* Security: WPA PSK,
* Enter Key:
* Confirm Key:
5. Select Save at the top of page
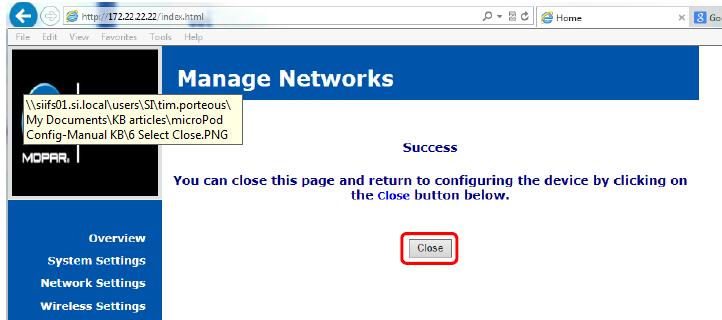
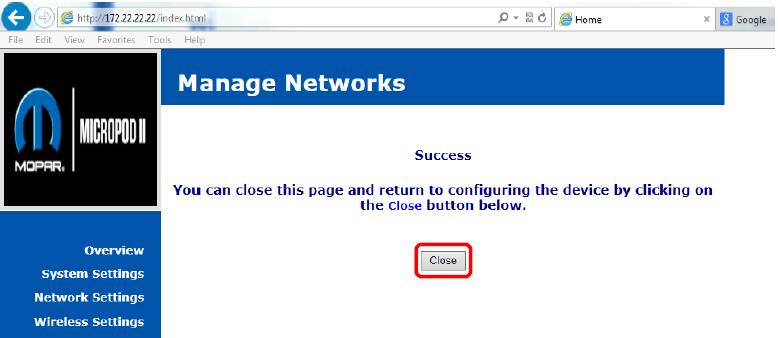
6. Select Close on the next page

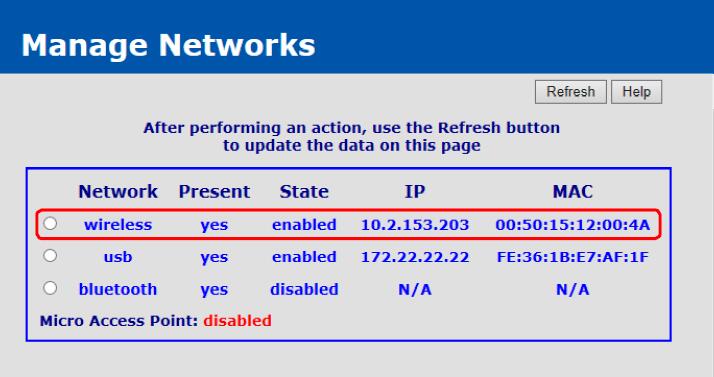
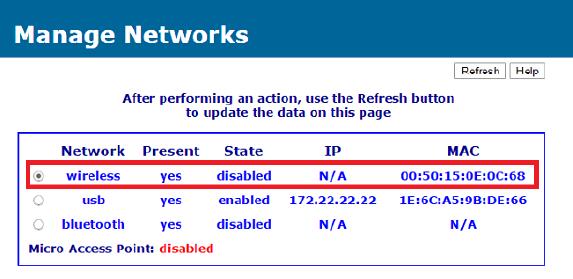
7. Select Manage Networks in the menu on the left
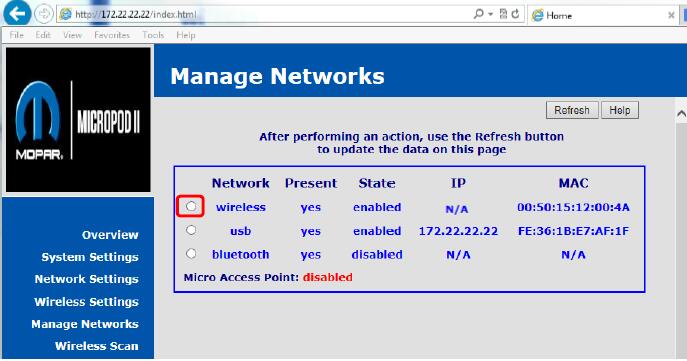
8. Select radio button for the wireless interface
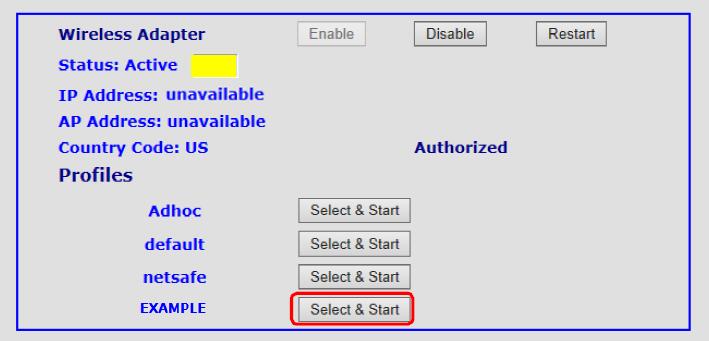
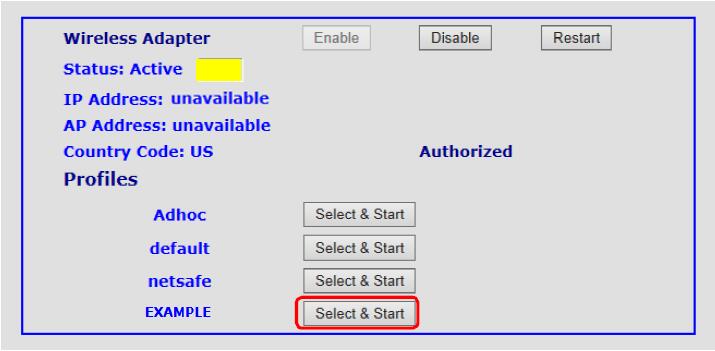
9. Next to the profile that was just created select the Select & Start button
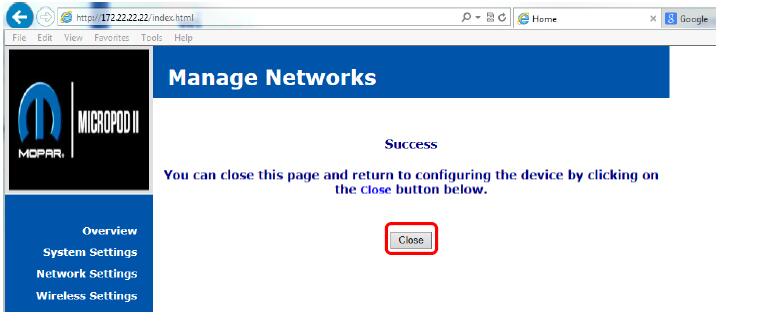
10. Select Close on the next page
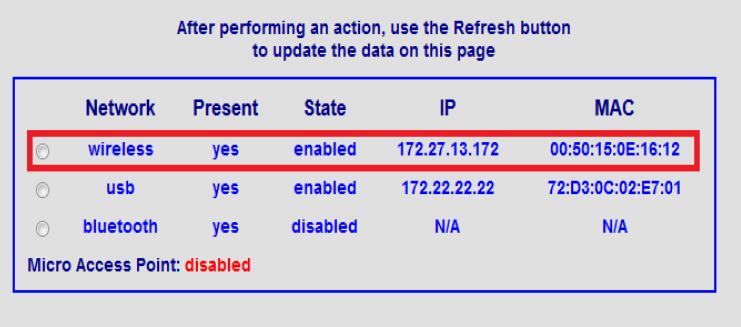
11. Once the connection is complete you will see an IP address populate for the wireless interface
? In some cases you may need to select the refresh button
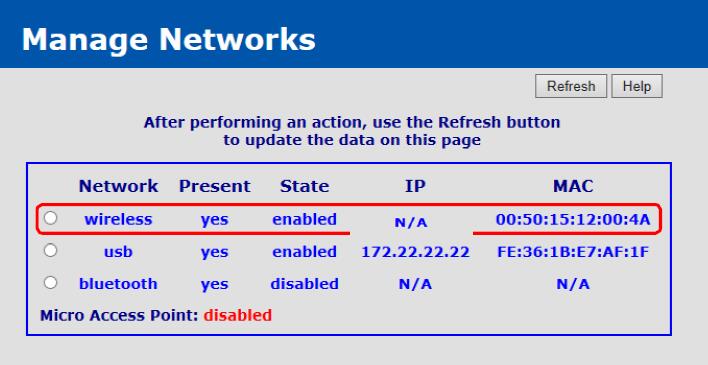
12. If you have tried selecting the refresh button and the tool is still not obtaining an IP address
? Select the radio button next to the wireless interface
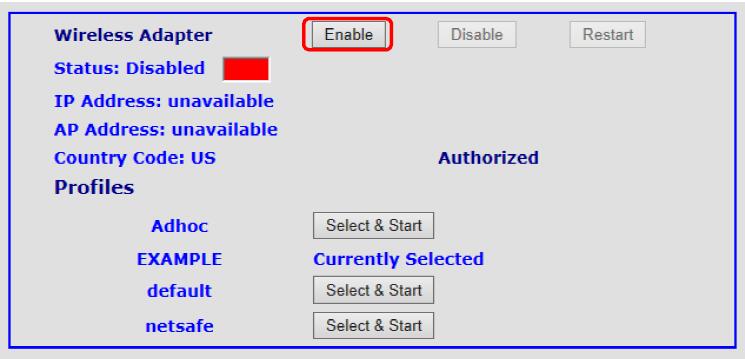
13. Select the Disable button in the Wireless Adapter area
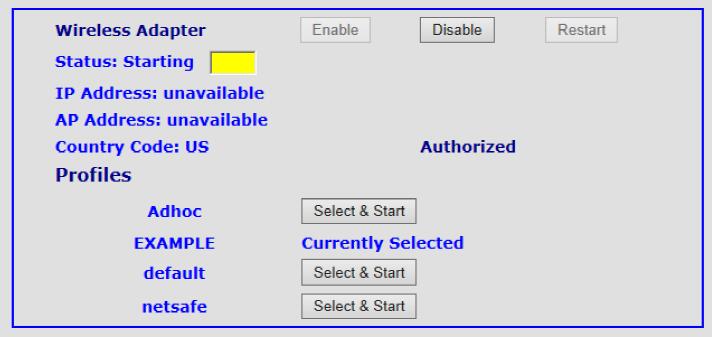
14. Select OK on the warning pop up

15. Select Close
16. Select the radio button for the wireless interface
17. Select the Enable button in the Wireless Adapter area
18. Select Close
19. You will now see an IP address for the wireless interface
20. If you are still unable to acquire an IP, make sure you are within range of the wiTECH wireless network try moving closer to the OBD II Scanner wiTECH Access Gateway