Here are tips and guides to help you get radio codes on a VAG vehicle.
Done with a VAS 5054A Bluetooth head and ODIS-S software!
Here you go…
In ODIS-service: select “Start Diagnosis”
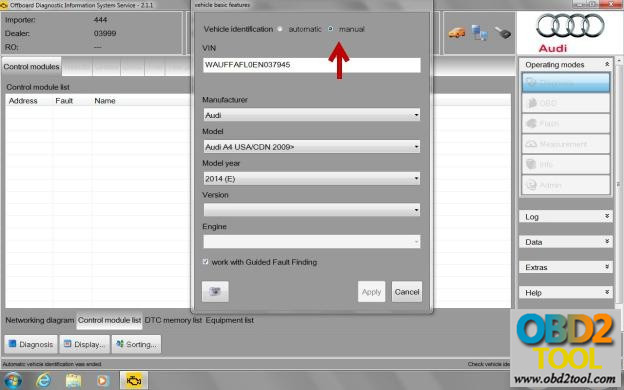
In the Basic Vehicle Features, select “Manual” for the vehicle identification.
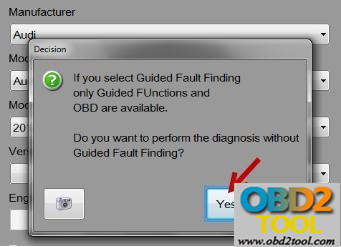
Select “Yes” to perform the diagnosis without guided fault finding
In “Model”, select “Previous Models for Immobilizer-Online”
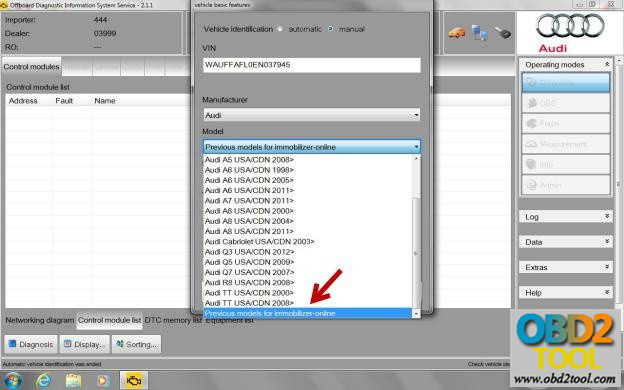
This selection will automatically set all of the other selections as “All”.
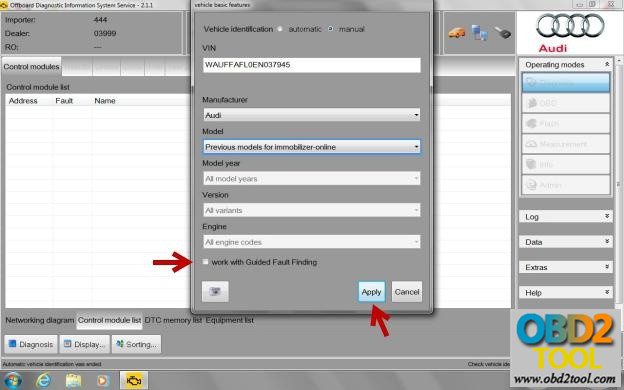
Next, deselect “Work with Guided Fault Finding” box and press the “Apply” button.
vas 5054a ODIS will now run a quick check
Then the “Special Functions” tab will appear
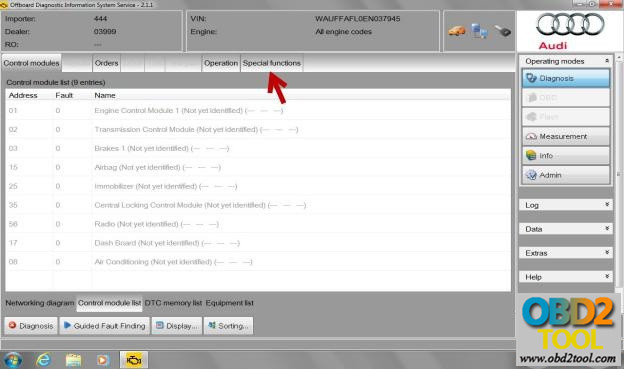
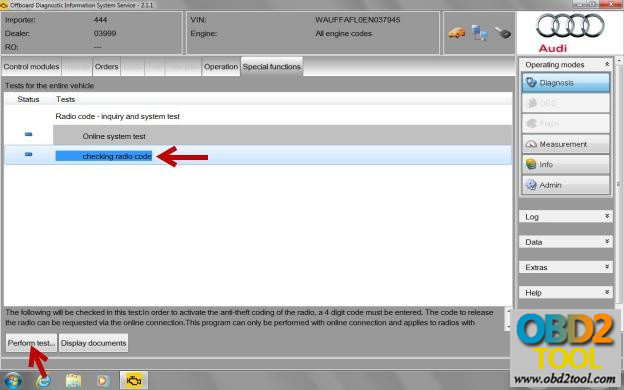
Select “Special Functions” and you will see the “Checking Radio Code” test.
Go to “Perform Test”
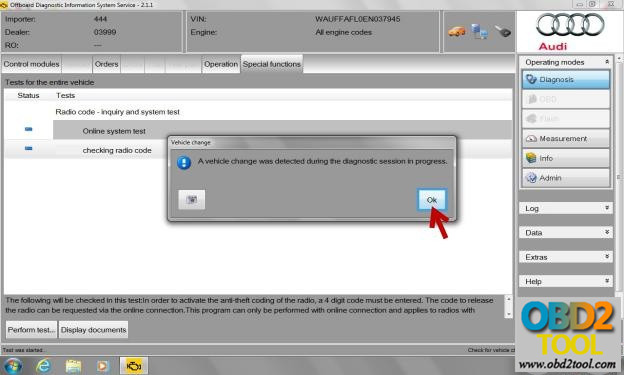
Select “OK”
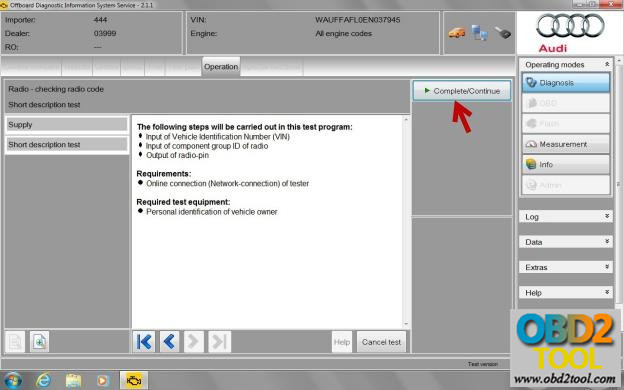
Steps will be carried out:
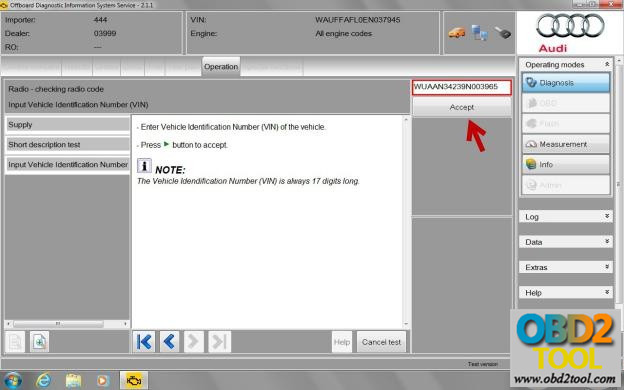
Input of vin
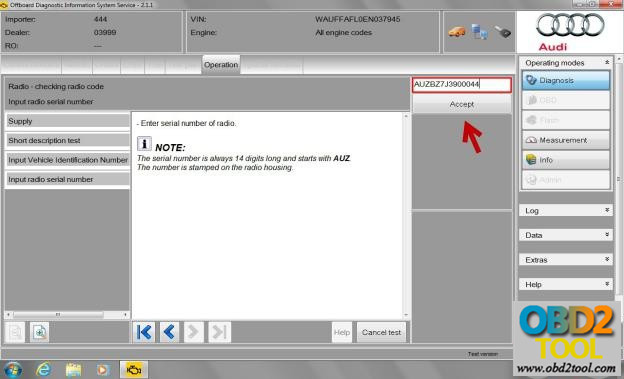
Input of component group id of radio
Output of radio-pin
Press the “Complete/Continue” button
Enter the VIN in the “Red” box and select “Accept”.
Enter the AUZ number in the “Red” box and select “Accept”.
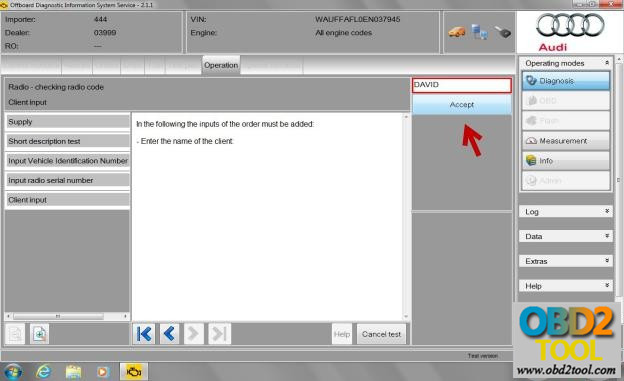
Enter name in the “Red” box and select “Accept”.
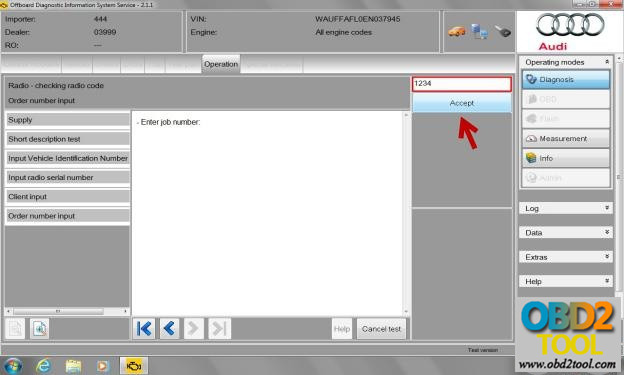
Enter number in the “Red” box and select “Accept”.
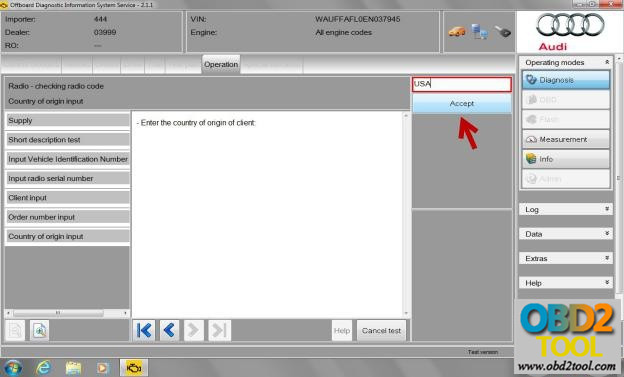
Enter the country in the “Red” box and select “Accept”.
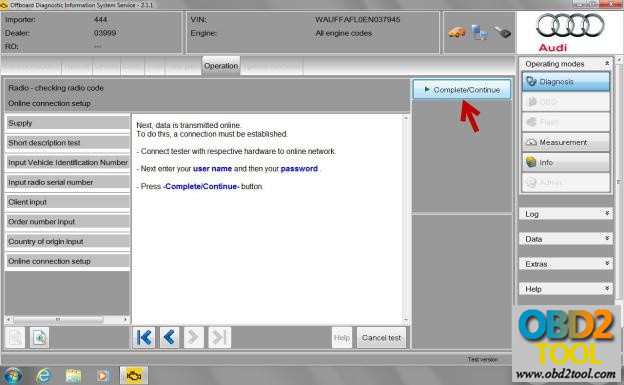
Next, data is transmitted online
To do this, a connection must be established:
– connect tester with respective hardware to online network
– next enter your user name and password
– press the “Complete/Continue” button.
Enter your GEKO ID information and select the “Apply” button.
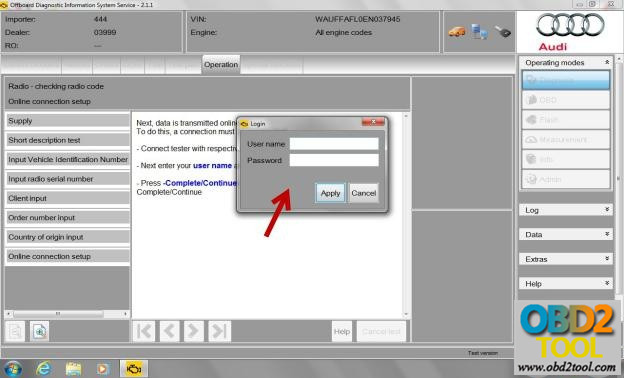
After pressing the button the test will start.
The radio code retrieving test will go through a series of checks and steps in order to obtain the code. Some of the screens will show the following…….
?The connection was established
?Next, the data will be sent.
?The data was transmitted.
The tester waits for data to be received.
?The tester evaluates the received data.
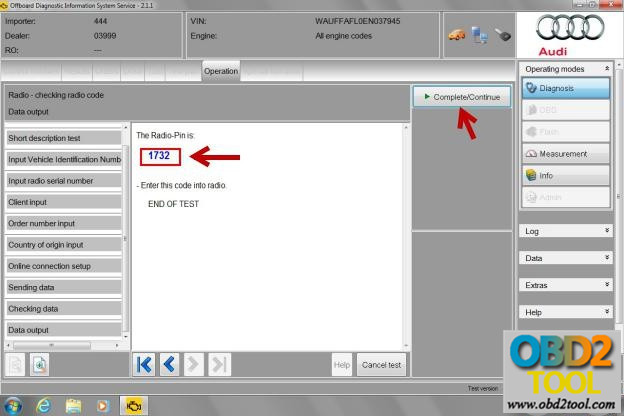
After the connection is established and the tester retrieved the radio code, this next screen will show up with your number.
Press the Complete/Continue button to exit test.
Job’s done! Have good luck with Auto ECU Programmer ODIS for radio codes!