To install the drivers on your laptop or PC:
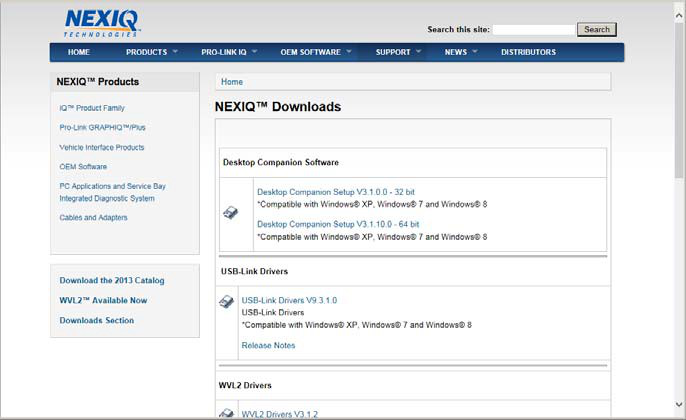
1. On your laptop or PC, navigate to the following website:
www.nexiq.com/downloads
2. From the NEXIQ USB Link 2 Drivers section, select the latestversion of the USB-Link 2 drivers.
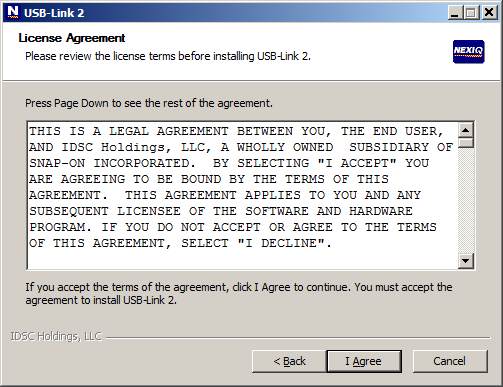
3. Carefully read the End User License Agreement.
4. Scroll down to the bottom of the page and click on Accept.
5. Click on the software title to begin the download.
6. Click on Run (if your browser is Internet Explorer®).
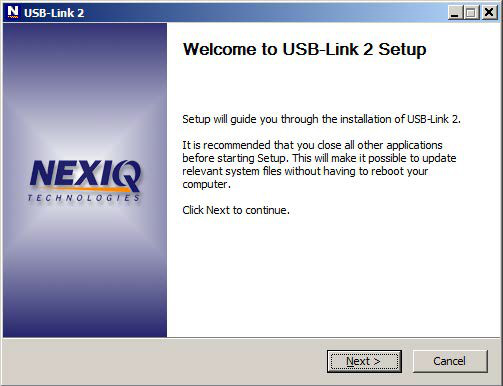
The Welcome to Heavy Duty Truck diagnostic Scanner USB-Link 2 Setup screen is displayed.
7. Read the information displayed on the screen, and click Next.
8. Read all the information on this screen, then click I Agree.
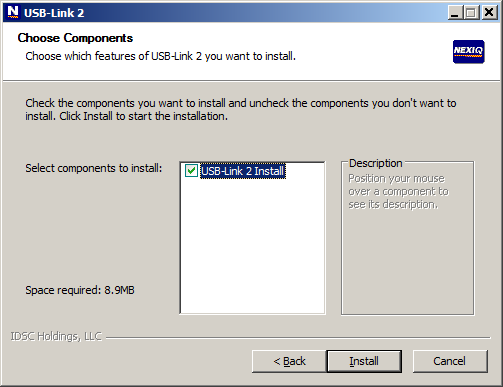
The Choose Components screen is displayed.
You can position your mouse over the component (i.e., USB-Link 2 Install) to view its description.
9 Click Install.
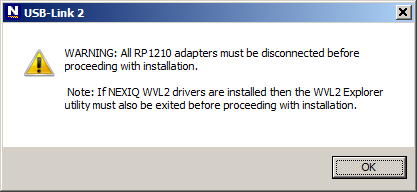
The following warning message is displayed.
10. Carefully read the warning message, and disconnect all RP1210 adapters to which to which your laptop or PC might be connected prior to proceeding with the installation.
11. Once you have complied with the requirements of the warning message, click OK.
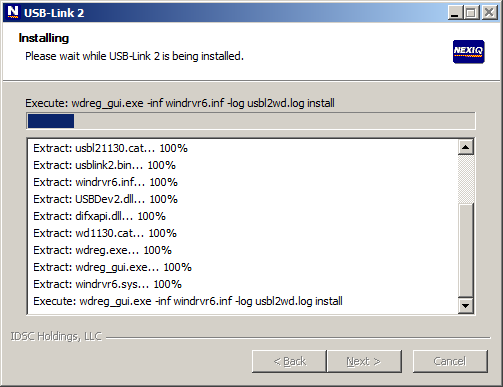
The following screen is displayed.
12. Wait briefly while the USB-Link™ 2 is installed.
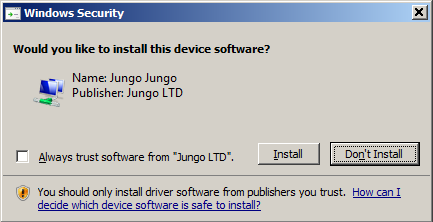
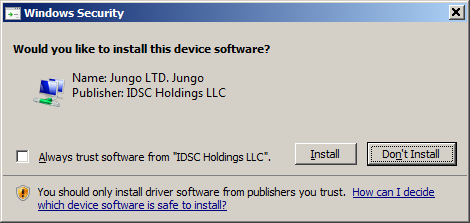
If you are running Windows® 7 or Windows® 8, the following Windows Security dialogs may be displayed.
Click Install to continue.
Click Install to continue.
Once the drivers are installed, you are ready to install the Device Tester.
13. Move on to Installing the Device Tester, next in this chapter.
